Don't rule out DIY fake turf to transform your yard—even if you're a NYC renter

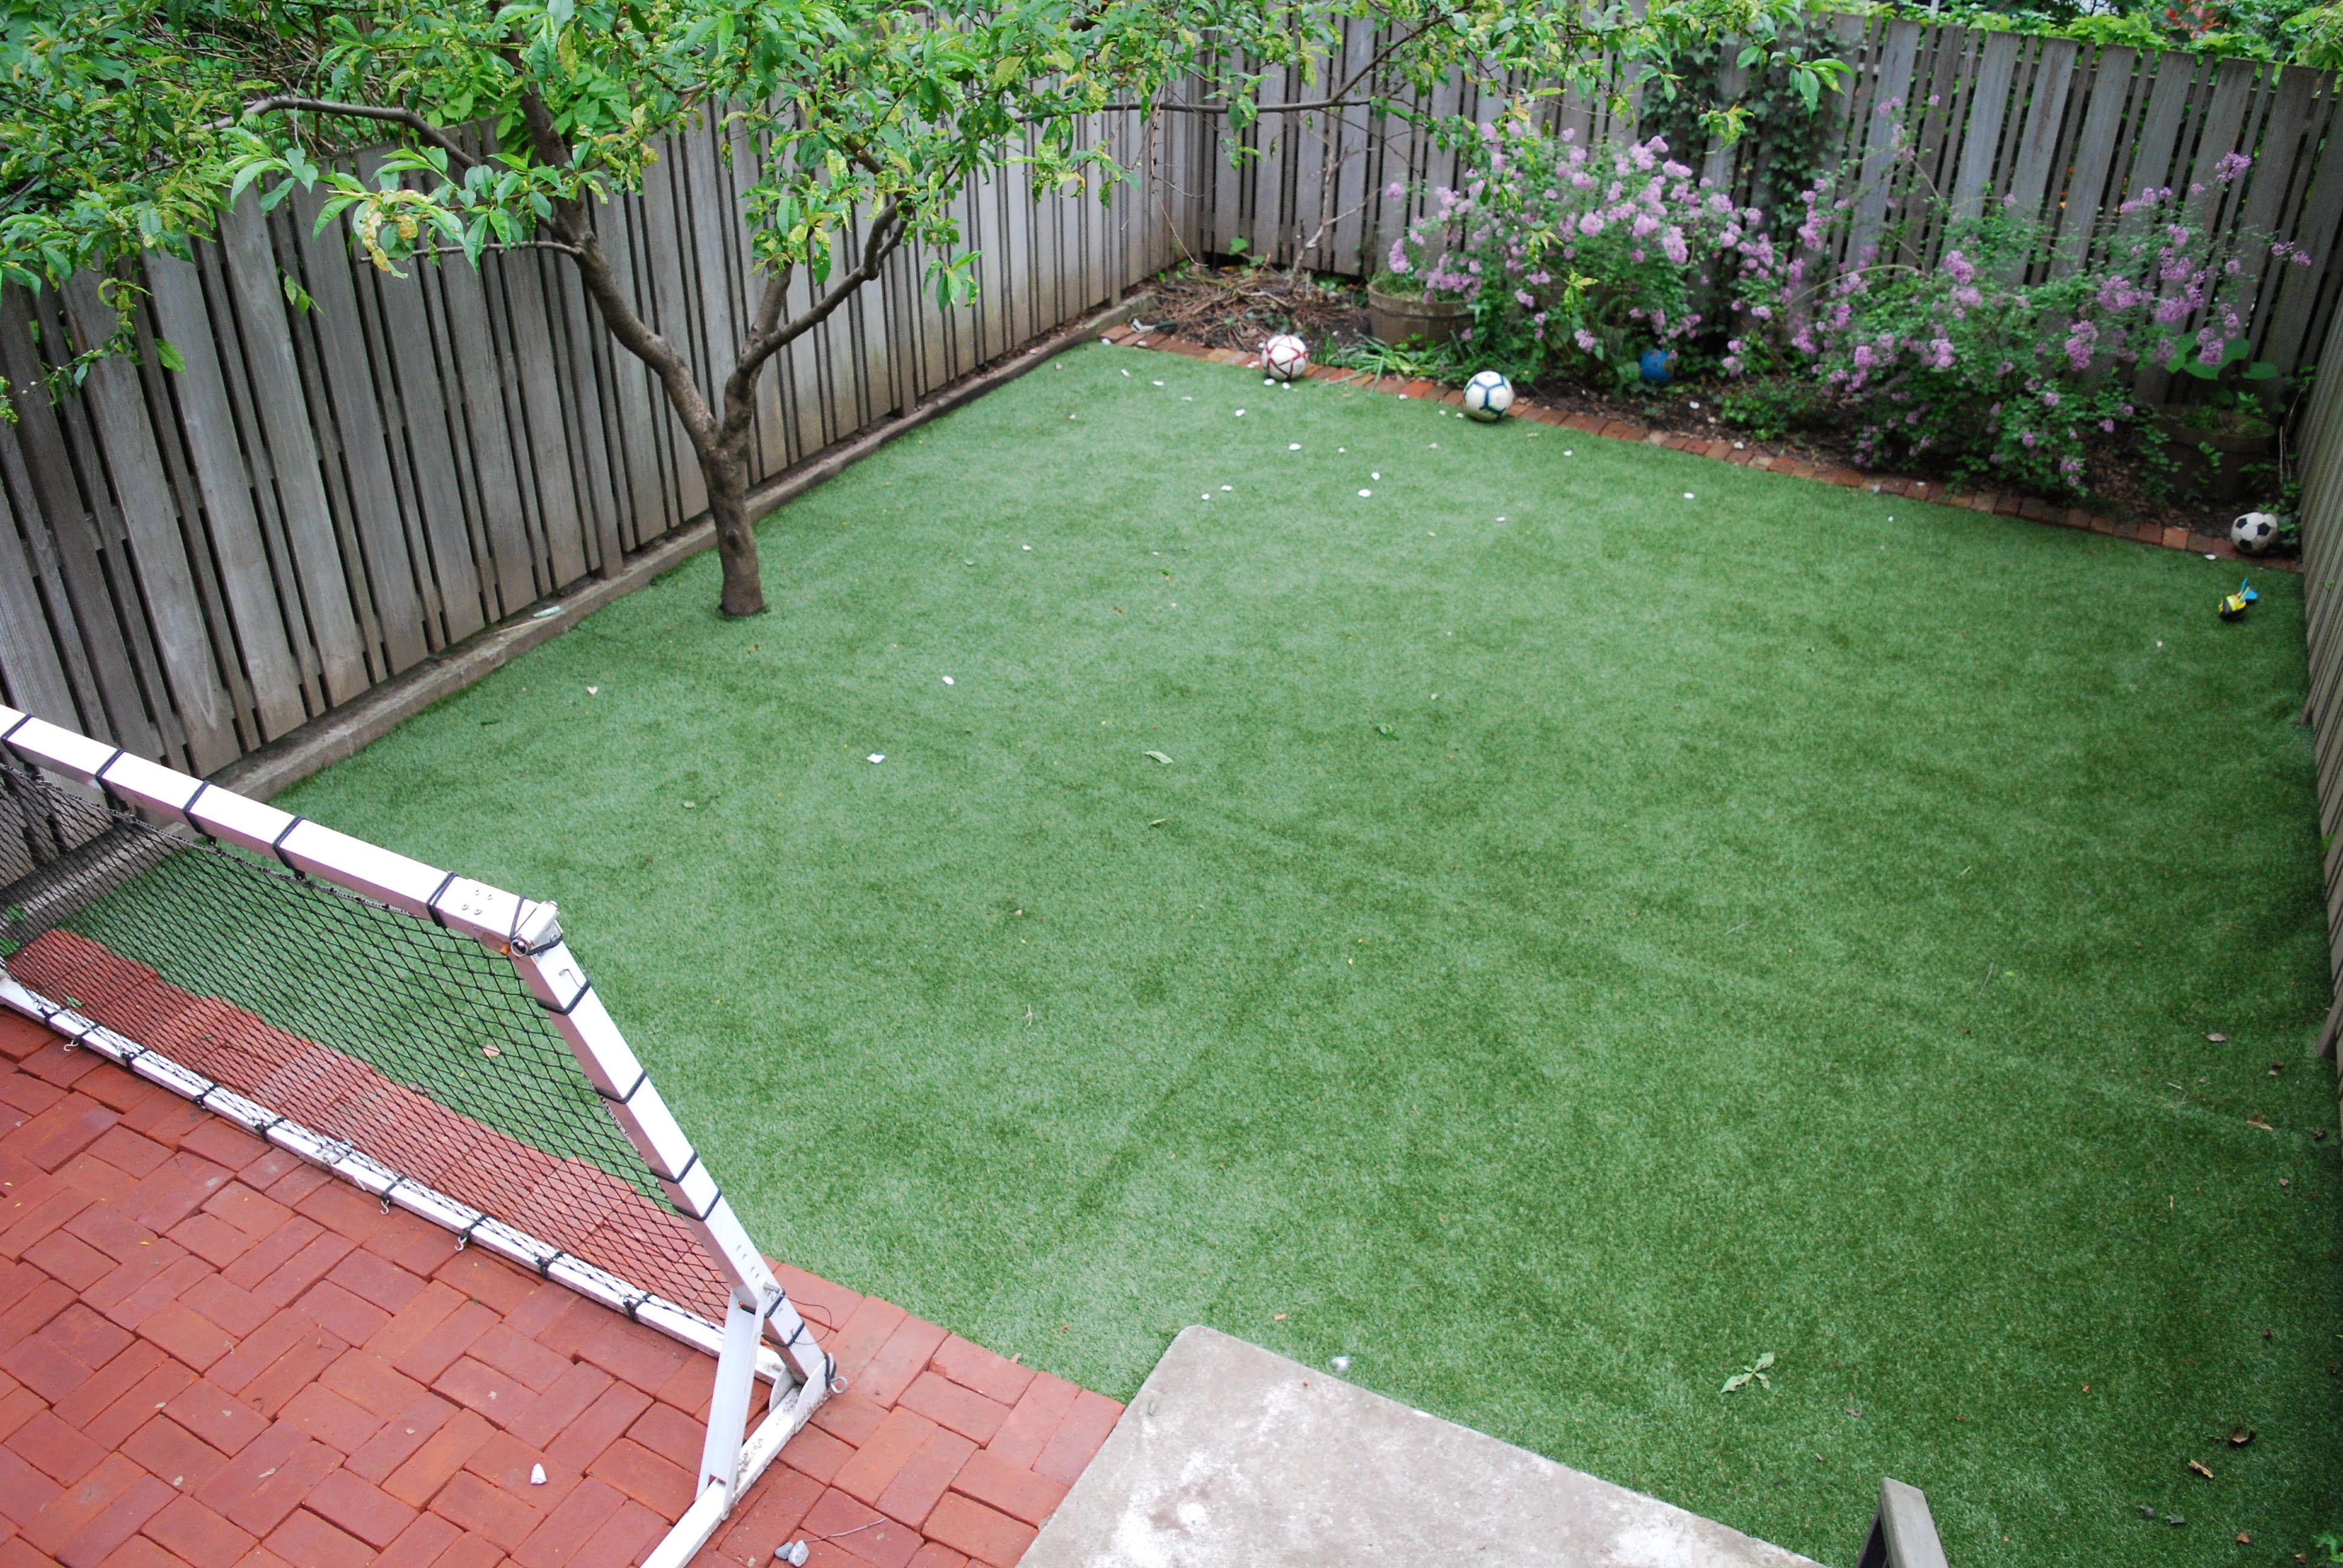
Our writer's Brooklyn backyard went from mud pit to usable space thanks to artificial turf.
Emily Myers
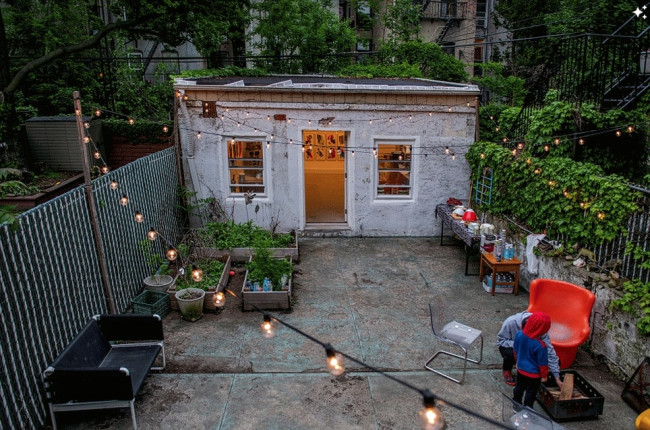
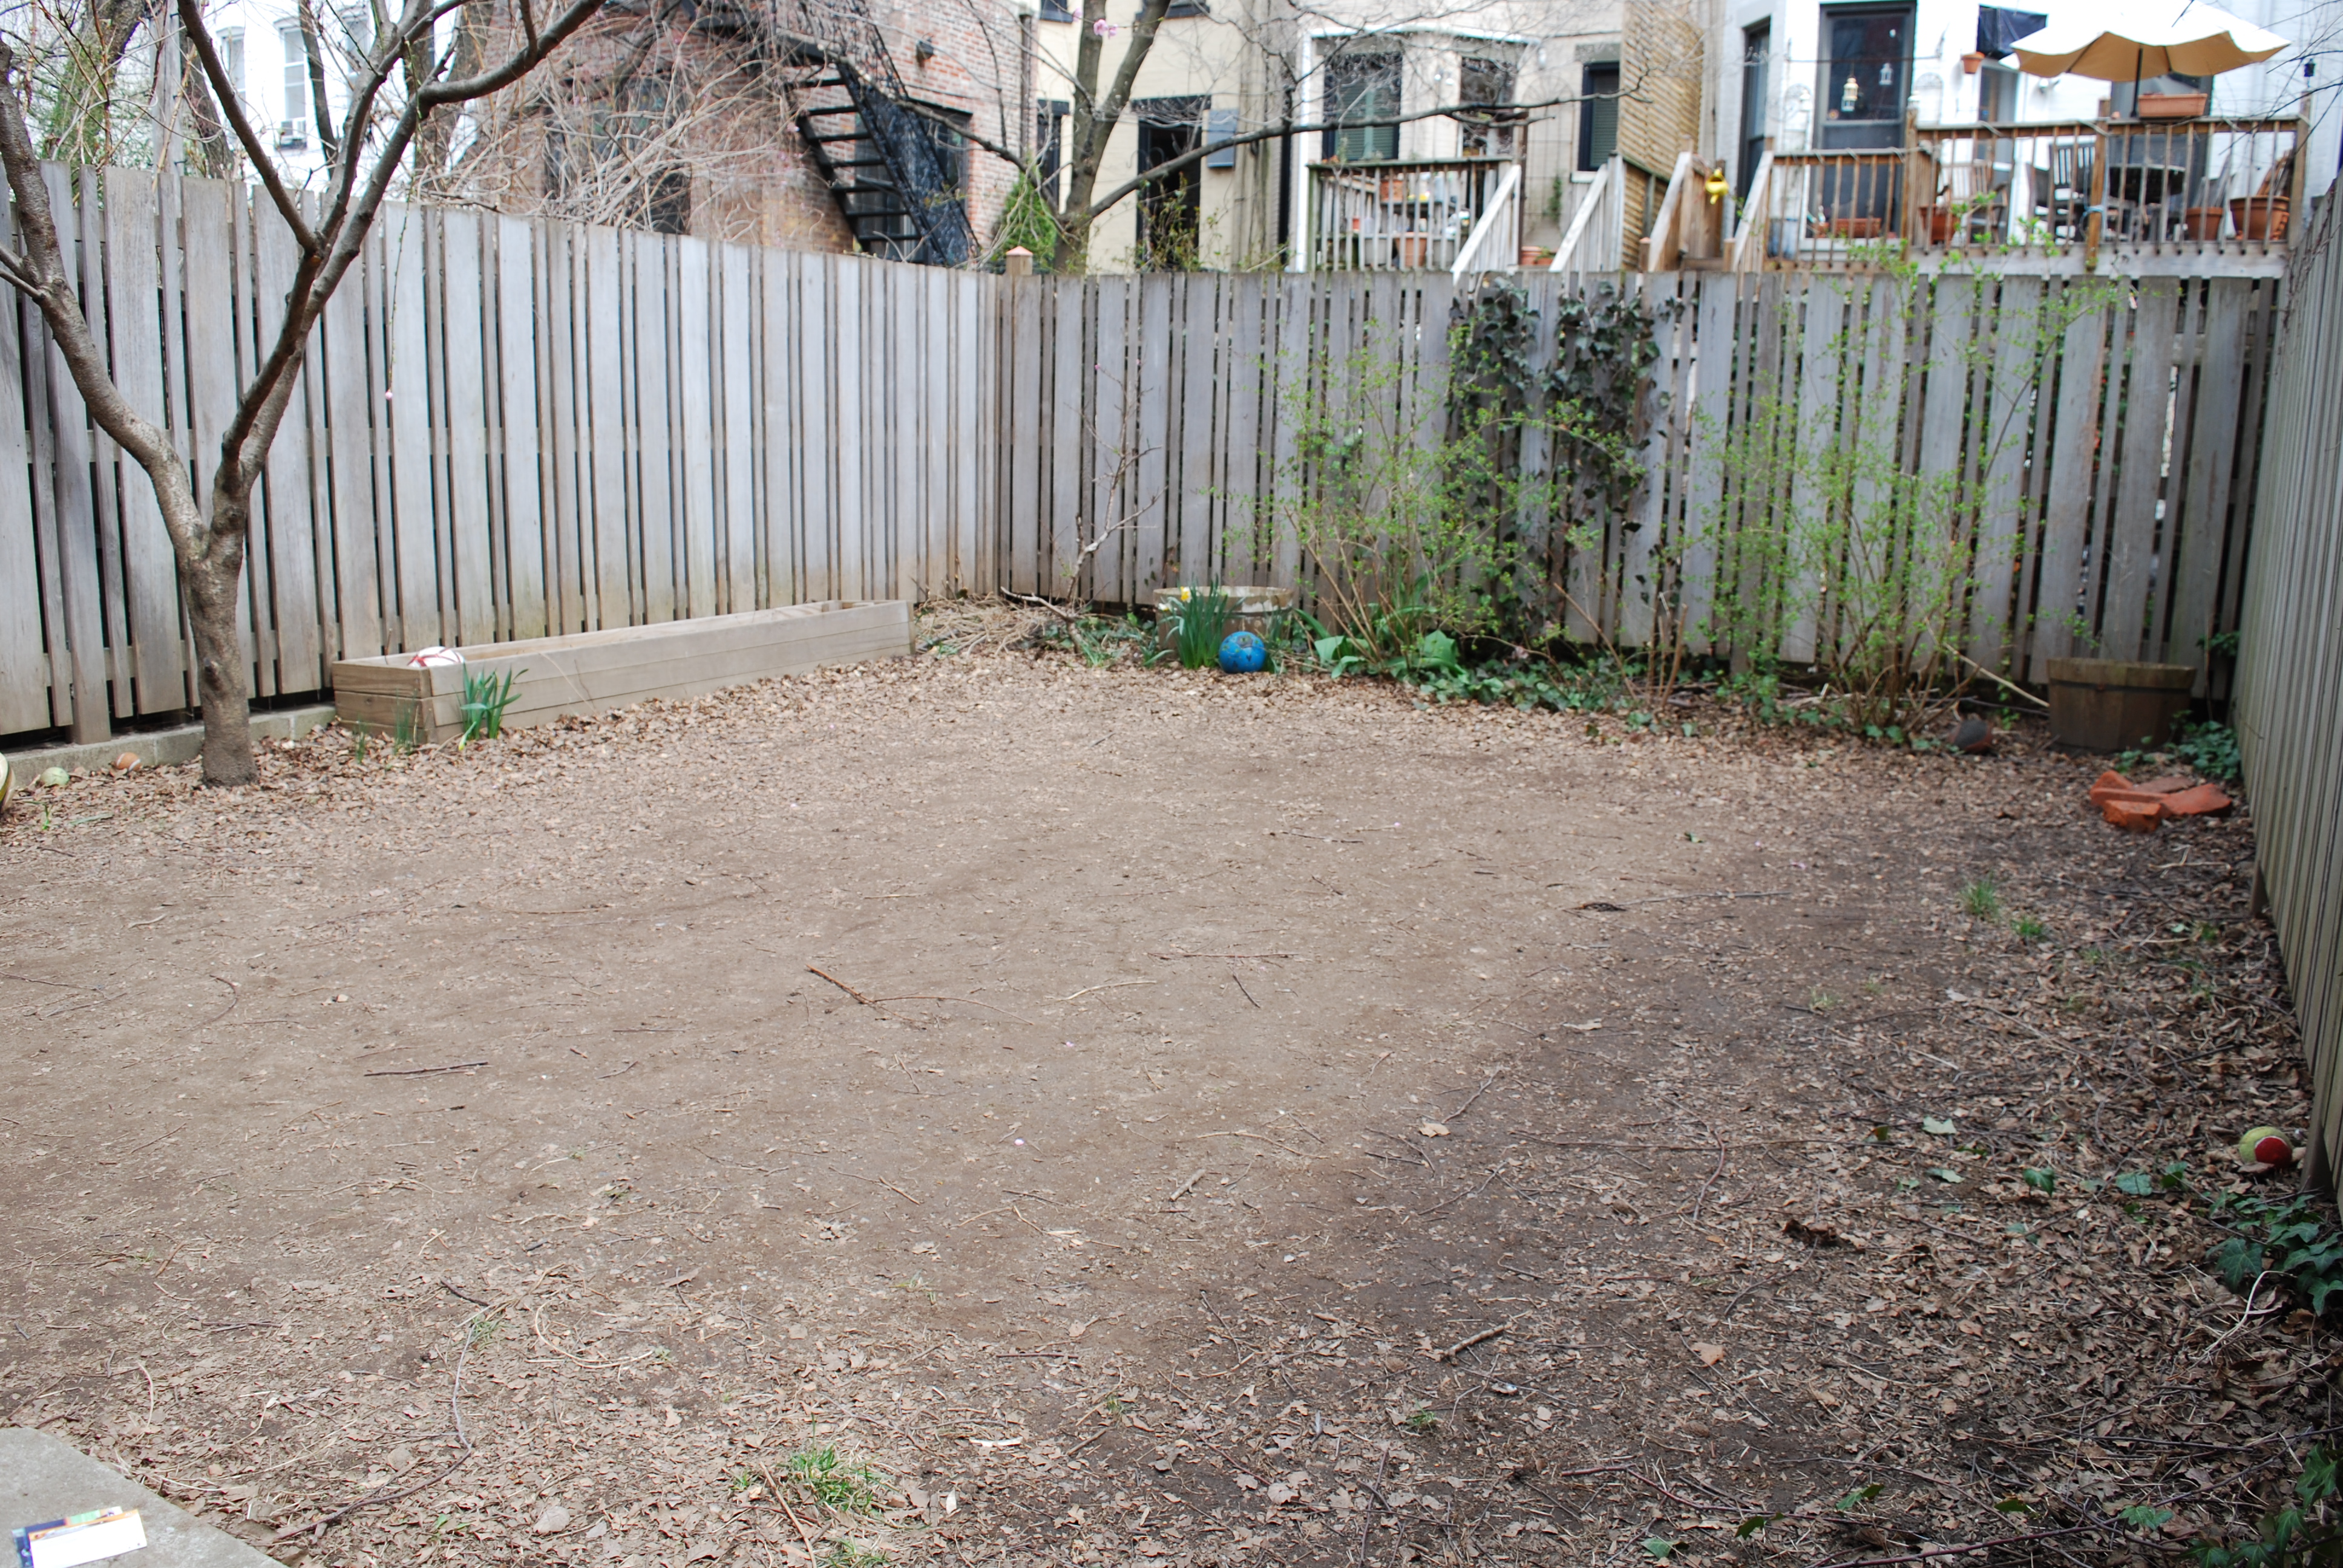
I rent a ground floor unit in Brooklyn that comes with some outdoor space. When we moved in nearly three years ago, it had some patchy grass and a few shrubs against the back fence. NYC's density means sunlight is limited and shade is plentiful—a disaster if you’re trying to cultivate grass in the back yard and that's what happened in our case.
Our yard is swimming in shade from neighboring buildings as well as a neighbor’s birch trees and a small peach tree in the yard itself. Then there’s the seasonal leaf fall and my children’s use of the area to kick soccer balls around, which meant our grass didn't stand a chance. It struggled and then gave way to bare dirt.
I was curious (read: desperate) to persuade our landlord to help us turn our patch of dirt into a functional back yard. While most owner-occupiers will probably be more invested in their yards than renters, that's not always the case. And although most landlords don't want you undertaking interior renovations, they may be open to you making improvements to the exterior of your rental property, especially if your plans don't involve drastic, permanent changes. Check your lease and reach out to your landlord to make sure.
Artificial turf all the way
For my part, I wanted to put down fake turf. For green-thumbed New Yorkers, this may seem criminal (as it did to me once) but we are also a practical family and I appreciate the advantages of the no-maintenance fake turf option.
I've done a DIY synthetic grass installation (with a friend's help) before and calculated the budget for the turf alone would come in at $1,000. I asked my landlord if she wanted to share the cost. If she’d pay for the turf, I’d take care of the installation. She offered me only $250.
“It’s hard to do any landscaping in NYC for less than $1,000,” says Amber Freda, a NYC-based landscape designer. I decided to suck up the difference and get to work.
Pick your turf
Lauren Pucciarelli, a landscape designer with Trillium Landscape Design, says her team has installed fake grass but "mostly for rooftops, where getting a mower up on the roof or establishing a lawn is tricky." She points out there are "many types of faux lawn on the market that vary from looking real and feeling soft, down to your basic astroturf."
Plenty of synthetic turf suppliers send out samples and the prices range from around $2 to more than $4 per square foot. I went for the cheaper end of the market from a local garden and home improvement store.
Create a perimeter
You're going to need neat edges for a fake turf installation. I dug a small trench the width of a brick in front of the shrubs along the back fence, put some sand into the trench and used some bricks that were stacked under the deck to create a straight edge.
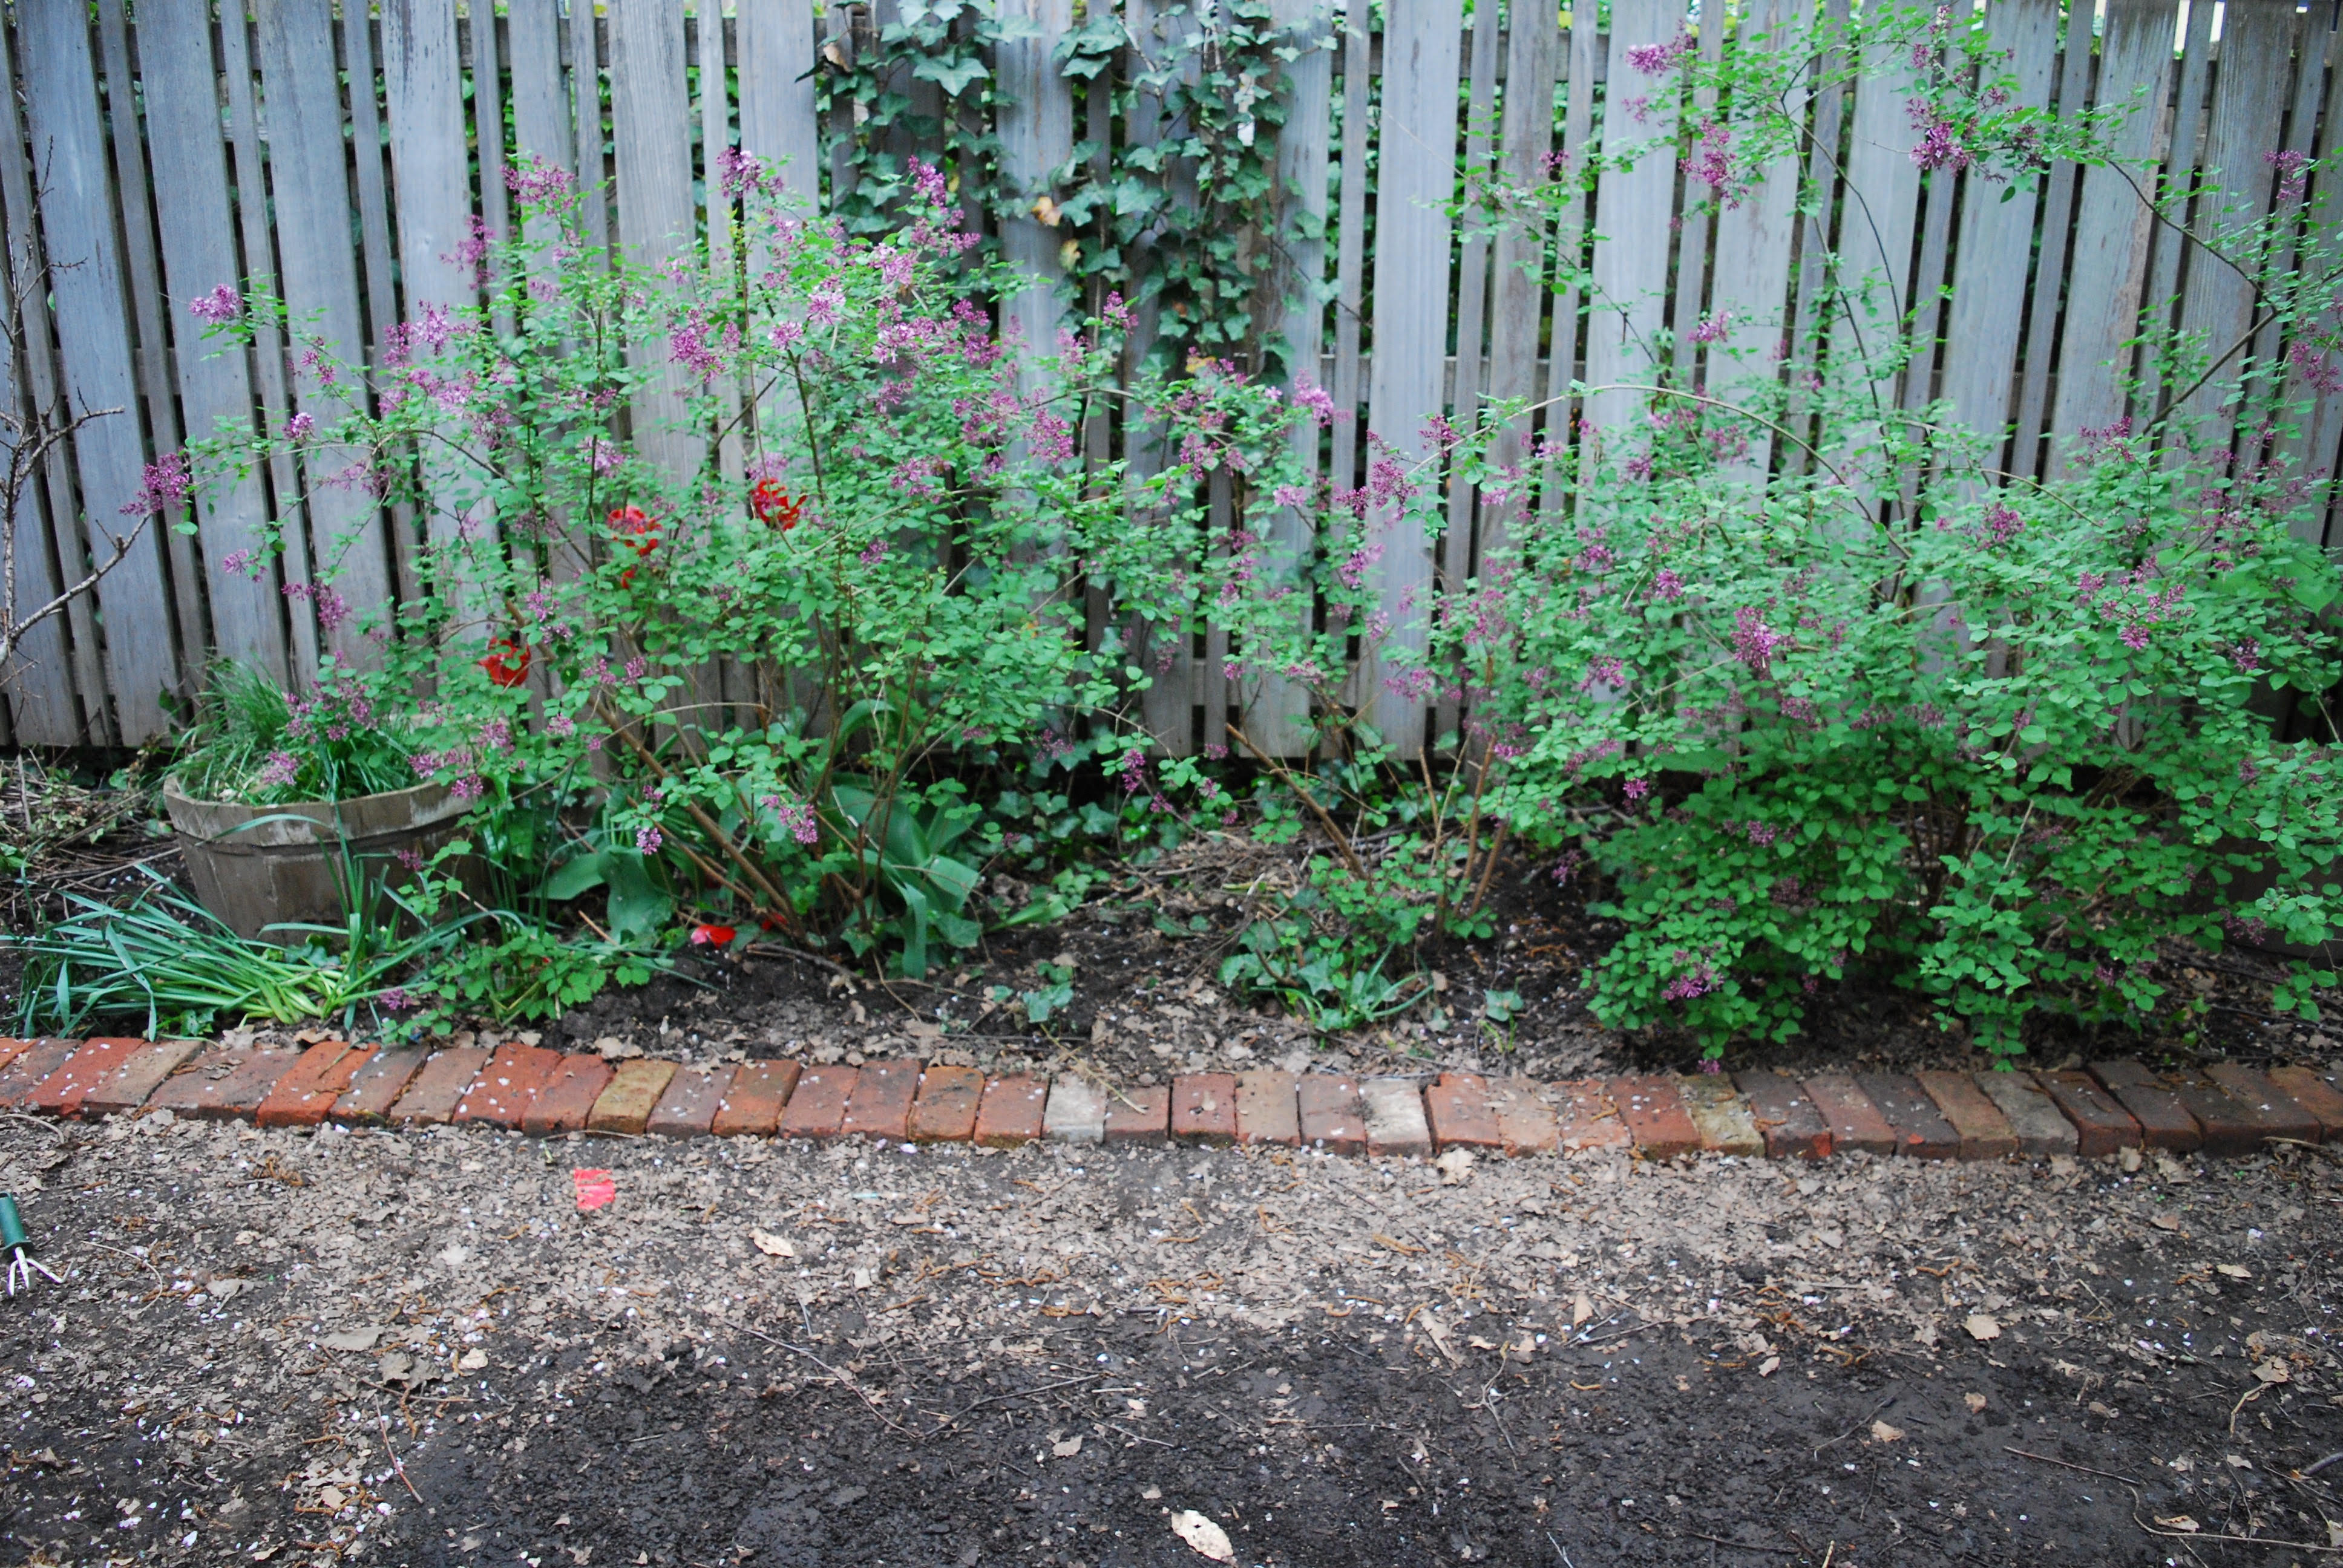
The bricks worked well for me but Ian Macwan at SYN Lawn, a manufacturer and installer of synthetic landscape grass, says some installations may need boards nailed down around the perimeter.
Work out your square footage
Since I was taking on the brunt of the cost (and all the labor) I wanted to reduce the square footage of the grass. The brick perimeter gave me the idea of putting down some bricks to square off the grass area and simplify the installation, but for that I needed more bricks.
From previous projects, I knew that if you searched in the free section of Craigslist, you can sometimes find contractors giving away free building materials. I began checking for free red bricks and within a few weeks, I was in luck. A builder had over-ordered during a townhouse remodel in Cobble Hill and I was the beneficiary.
The job of hauling bricks might have been a good gig for a TaskRabbit but in the end, I did it myself—I took as many as I could, knowing I'd need about 200 to fill the space I had in mind.
Prepare the ground
The professional installers at SYN Lawn will dig up to three inches of dirt, then lay down weed-blocker on top of the dirt before installing the turf. After that, they add gravel (three-quarter inch bluestone) and then stone-dust, which is crushed rocks and sand. Macwan says they then "compact it to grade and install the turf on top of it."
When you have been unable to grow anything in the first place, the addition of gravel and stone-dust can seem like overkill. It did to me, although it's probably worth doing.

I hauled out the planter, raked away all the organic debris and made sure to level the ground with sand and gravel, but didn't go as far as adding stone-dust or compacting. To me, it looked pretty compact.
My brick area needed some prep too, with gravel and sand to make sure the bricks were level. That's when I discovered a white maggot-looking creature with legs which I identified online as a lawn grub. Apparently, they feed on the roots of the grass and are another reason, other than a lack of sunlight, why your real grass might struggle to survive.

Getting the turf in place
You need to figure out the square footage you need, and keep in mind that turf comes in widths of 12- or 15-feet. With those two numbers, you can work out what length of turf you need. The depth of my yard is 18 feet, so I knew I'd be dealing with some seams.
I went to the garden store early on a wet Sunday morning and bought the length I needed to cover the area. Luckily the strongest man in the world was walking past when I got the turf home and he offered to help me get it from the car to our building's front steps. My kids and I were very impressed.
Getting that heavy roll of plastic turf through the basement to the back yard was probably the most physically challenging part of the entire installation. Luckily my children were as invested as I was. Ideally, you'd have some strong hands available.
Rolling out the turf
Finally the fun part—rolling out the turf and using a utility knife to cut the grass to size. The easiest way to cut is to fold the grass over and insert the knife in the back.

In my case, I also needed to cut into the grass to create room for the tree trunk.
Gluing the seams
If your installation requires seams, as mine did, you'll need some seaming tape and artificial grass adhesive. Pick a dry day, lay the tape beneath the seam, squeeze glue onto the tape and carefully press the grass down and close the seam.
It's worth having some mineral spirits and a rag on hand to clear up any spilled glue as you go. It's very hard to remove the glue once it's dry. Place something heavy over the seam and leave it there for a few hours. (You can see the impression of the plank of wood I used in the picture above).
Securing the edges
Six- to eight-inch nails can be used to secure the grass. (I am yet to finish the right side). You can follow the manufacturer's instructions but a rule of thumb is to secure the grass every six inches along the perimeter and every four inches along the seams. This will prevent animals from burrowing under your new turf.
You Might Also Like


