10 things I learned from my Bed-Stuy brownstone renovation

Folding doors and windows let the natural light pour in and greatly expand the living space.
HomeAdvisor
I’ve tackled a few small remodeling projects, but our gut renovation of an 1882 brownstone in Bed-Stuy’s historic district was the first chance to truly put my knowledge to the test.
I’m not a novice: I’ve written about home remodeling for nearly two decades, for outlets like This Old House, Martha Stewart Living, and Consumer Reports, and in my current role as home expert at HomeAdvisor, the leading digital home services marketplace.
But the experience creating a dream home for me, my wife, and our kids taught me more about remodeling than I ever hoped to know.
Here are the 10 biggest lessons learned.
Lesson 1: There’s no substitute for skilled professionals
I know a lot about design, plus I’ve swung a hammer on various remodeling crews during my life. But I would have sooner run for mayor of New York City than tackle this project on my own. The number of design decisions was mind-boggling, as was navigating the Byzantine permit processes of the Department of Buildings and Landmarks Preservation Commission.
Our architect, Bo Lee, and contractor, Federico DiMattia, formed the backbone of our team. Each brought solid credentials and strong references, plus we all had a good trust and rapport from the beginning. The two of them communicated particularly well during the initial planning meetings. Given the constant push-pull between design and construction on a major renovation, that team chemistry is key.
Lesson 2: Renovation really does take longer and costs more than expected
I can’t tell you how many times I’ve issued that warning to readers, and yet I was still surprised at the length and cost of my own project. The demo phase turned up several serious structural problems, including notched floor joists and an unstable section of brick wall at the back of the house. The latter called for a steel support beam to buttress the structure. All this extra work set us back several weeks and added $17,250 to our bottom line.
Fortunately, we’d padded the original budget with a 20 percent cushion to cover hidden surprises. But it was quickly decimated. To make the numbers work, we decided to put off the installation of rooftop solar panels until a later date—hopefully before the federal tax credit covering 30 percent of the installation cost expires in 2019.
Lesson 3: True restoration gets pricey in a hurry
Before the work started, I was fond of saying the project would be a restoration, not a renovation. But I quickly discovered just how much it costs to restore original details.
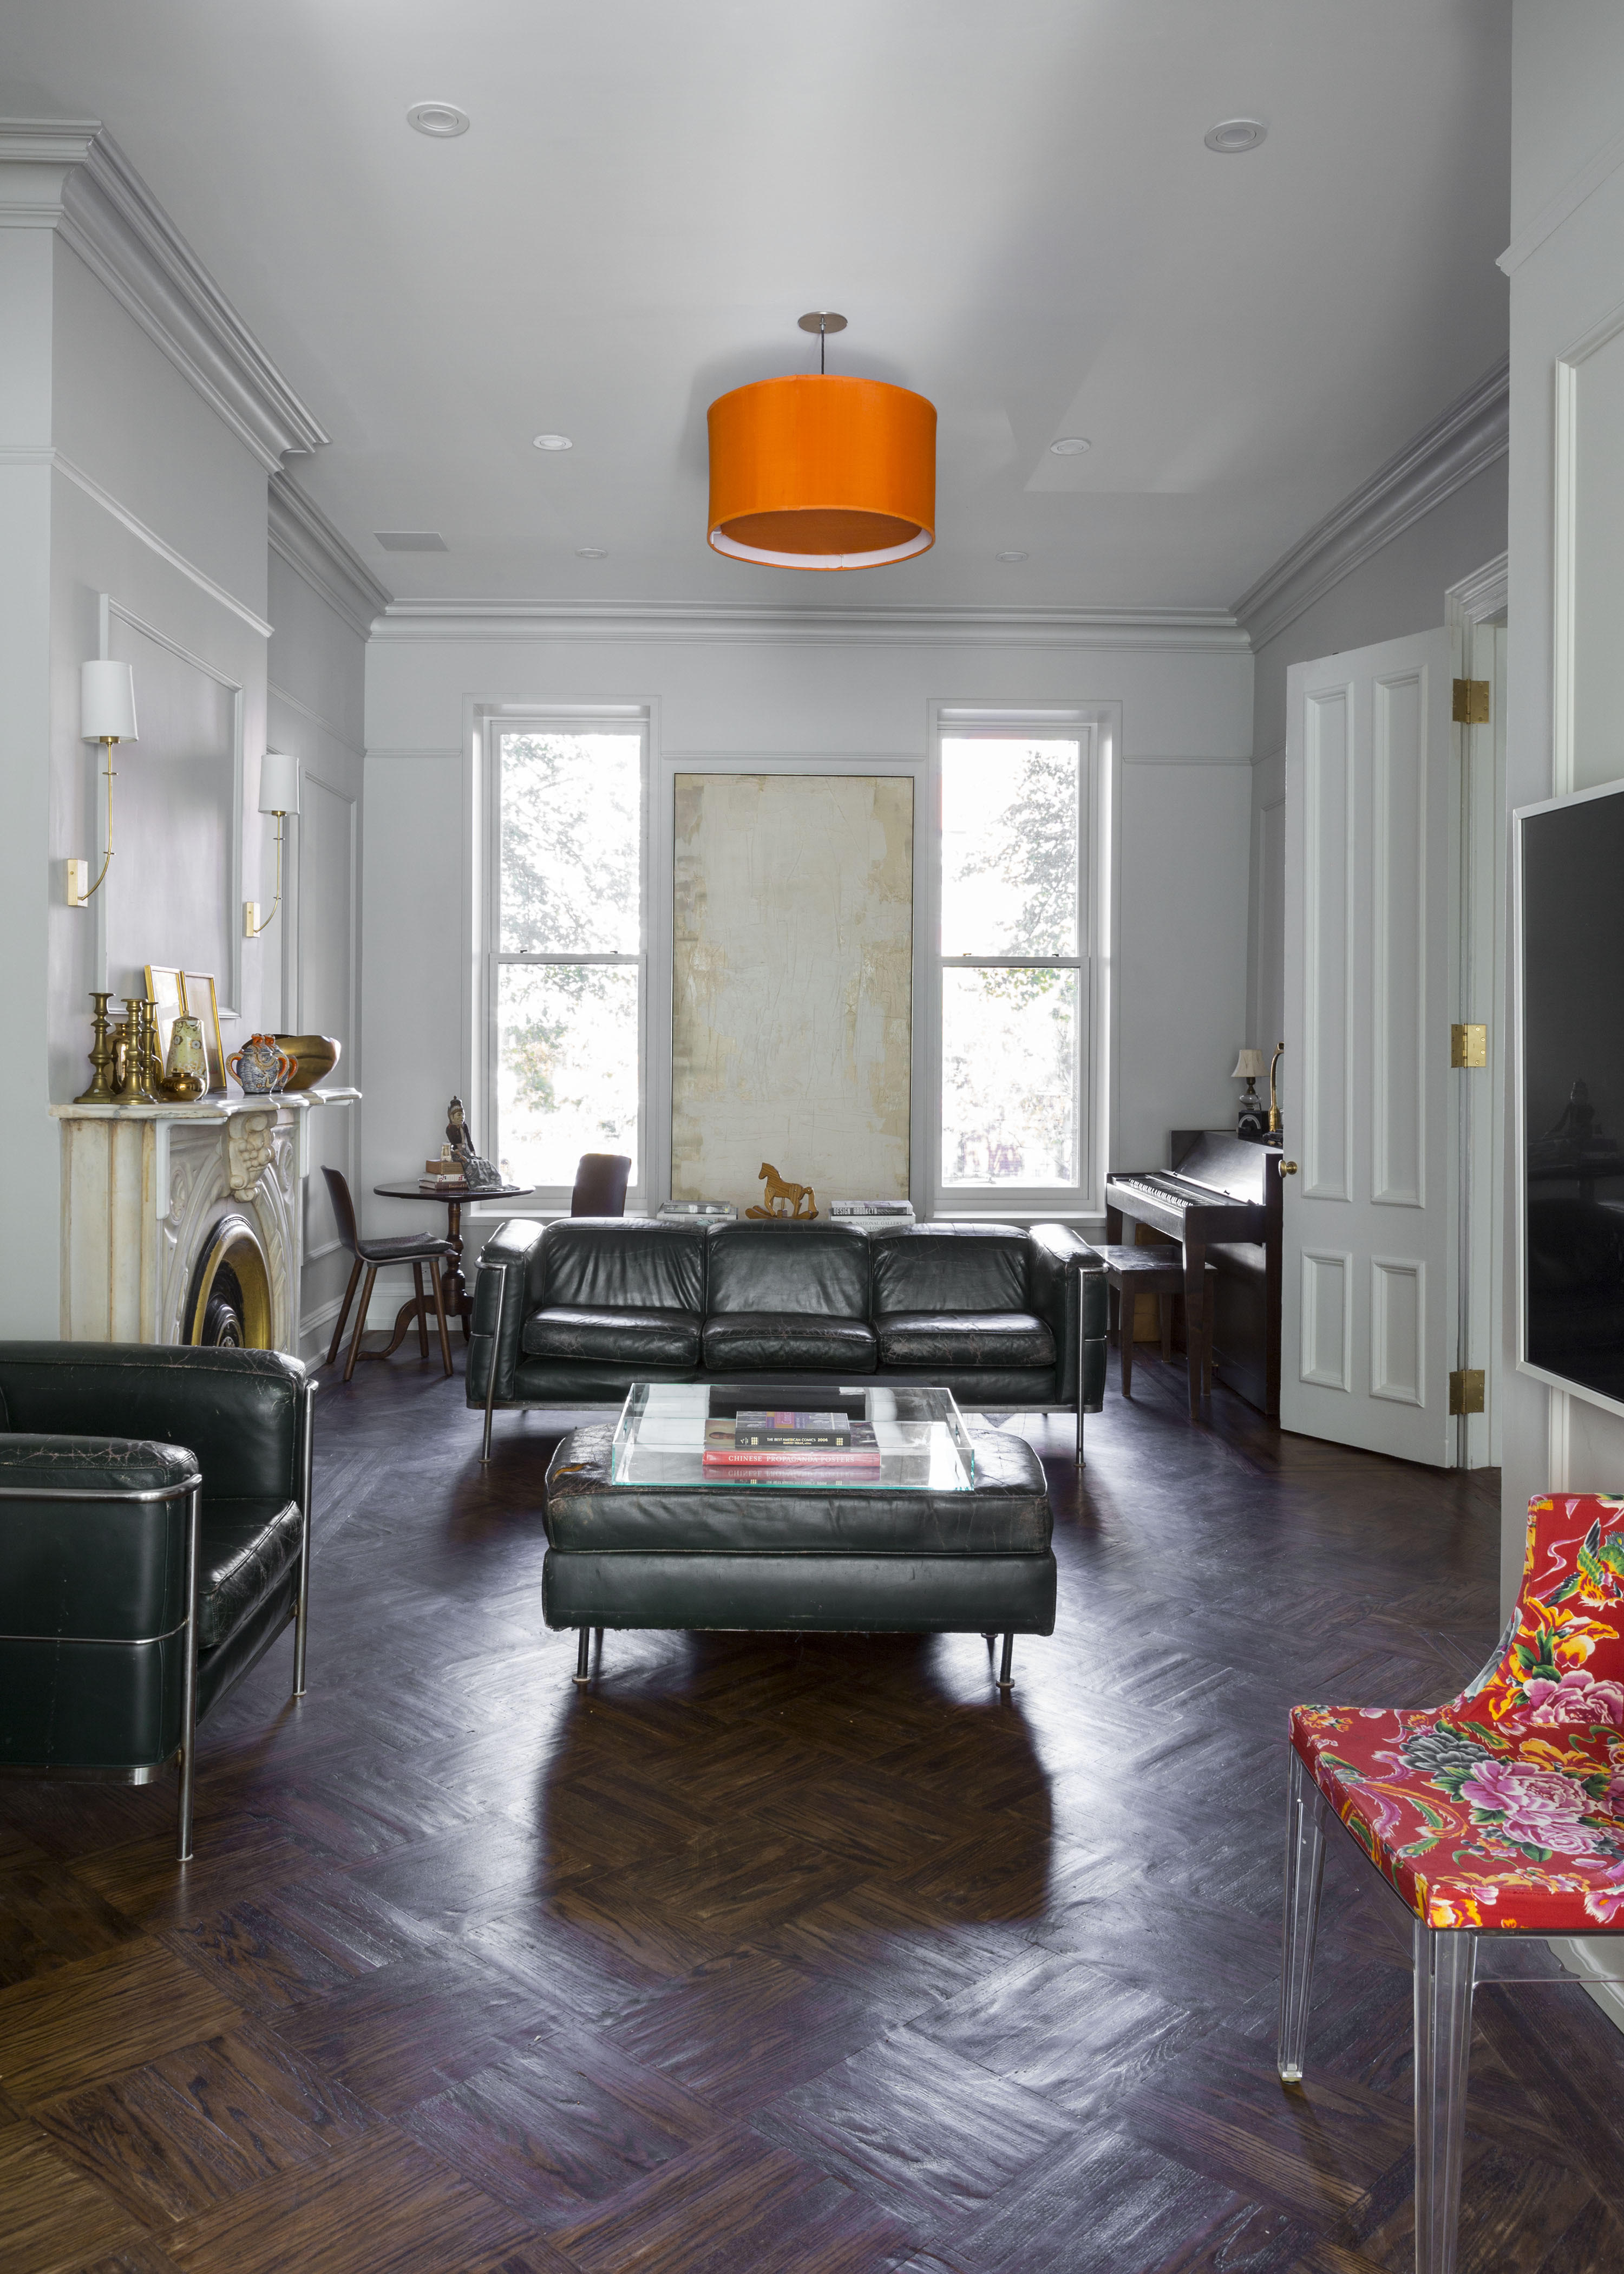
Take the plaster crown moldings, which were badly damaged in many places. Creating exact plaster replicas would have easily run into five figures. Instead, we went with a faux molding product, called Canamould, made of lightweight polystyrene foam coated in hard plaster. The molding we chose resembles the original crown, especially after a fresh coat of paint, and it costs just a few dollars per linear foot.
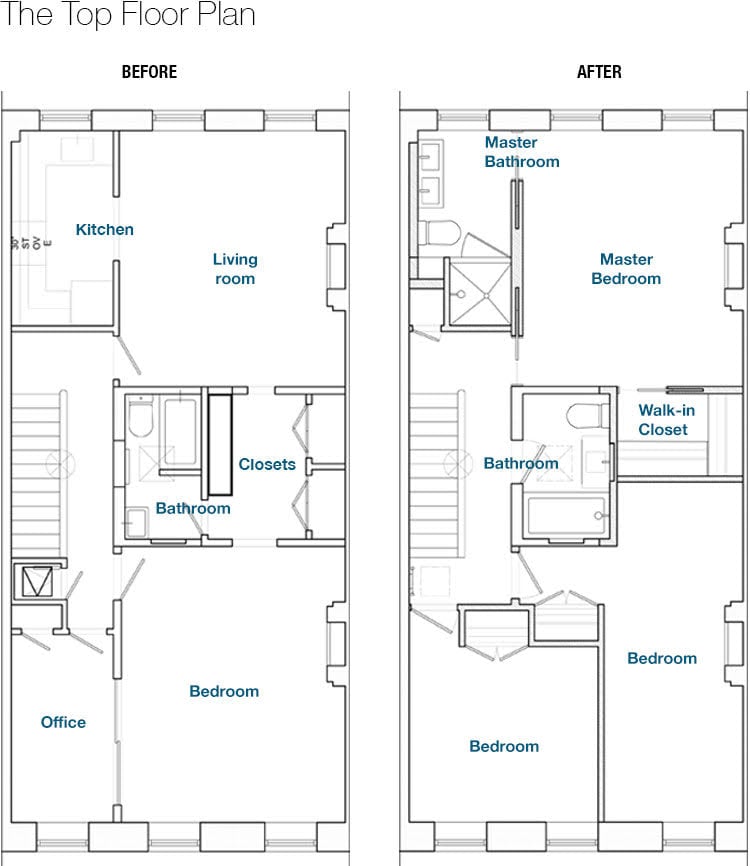
Lesson 4: It’s possible to squeeze three bedrooms into a 20-wide brownstone
It would have been nice to turn the building into a one-family residence, but we need the income from the garden rental. I had my doubts about squeezing three bedrooms into the top floor. Our architect came up with an extremely space-efficient layout. I love the master suite, with its walk-in closet and roomy bathroom. The kids’ bedrooms are cozy for sure, but they don’t feel too cramped (talk to me again when they’re teenagers!). We even managed to fit a laundry closet into the plan, which makes doing loads so much easier.
Lesson 5: Natural light brightens the mood, along with the home
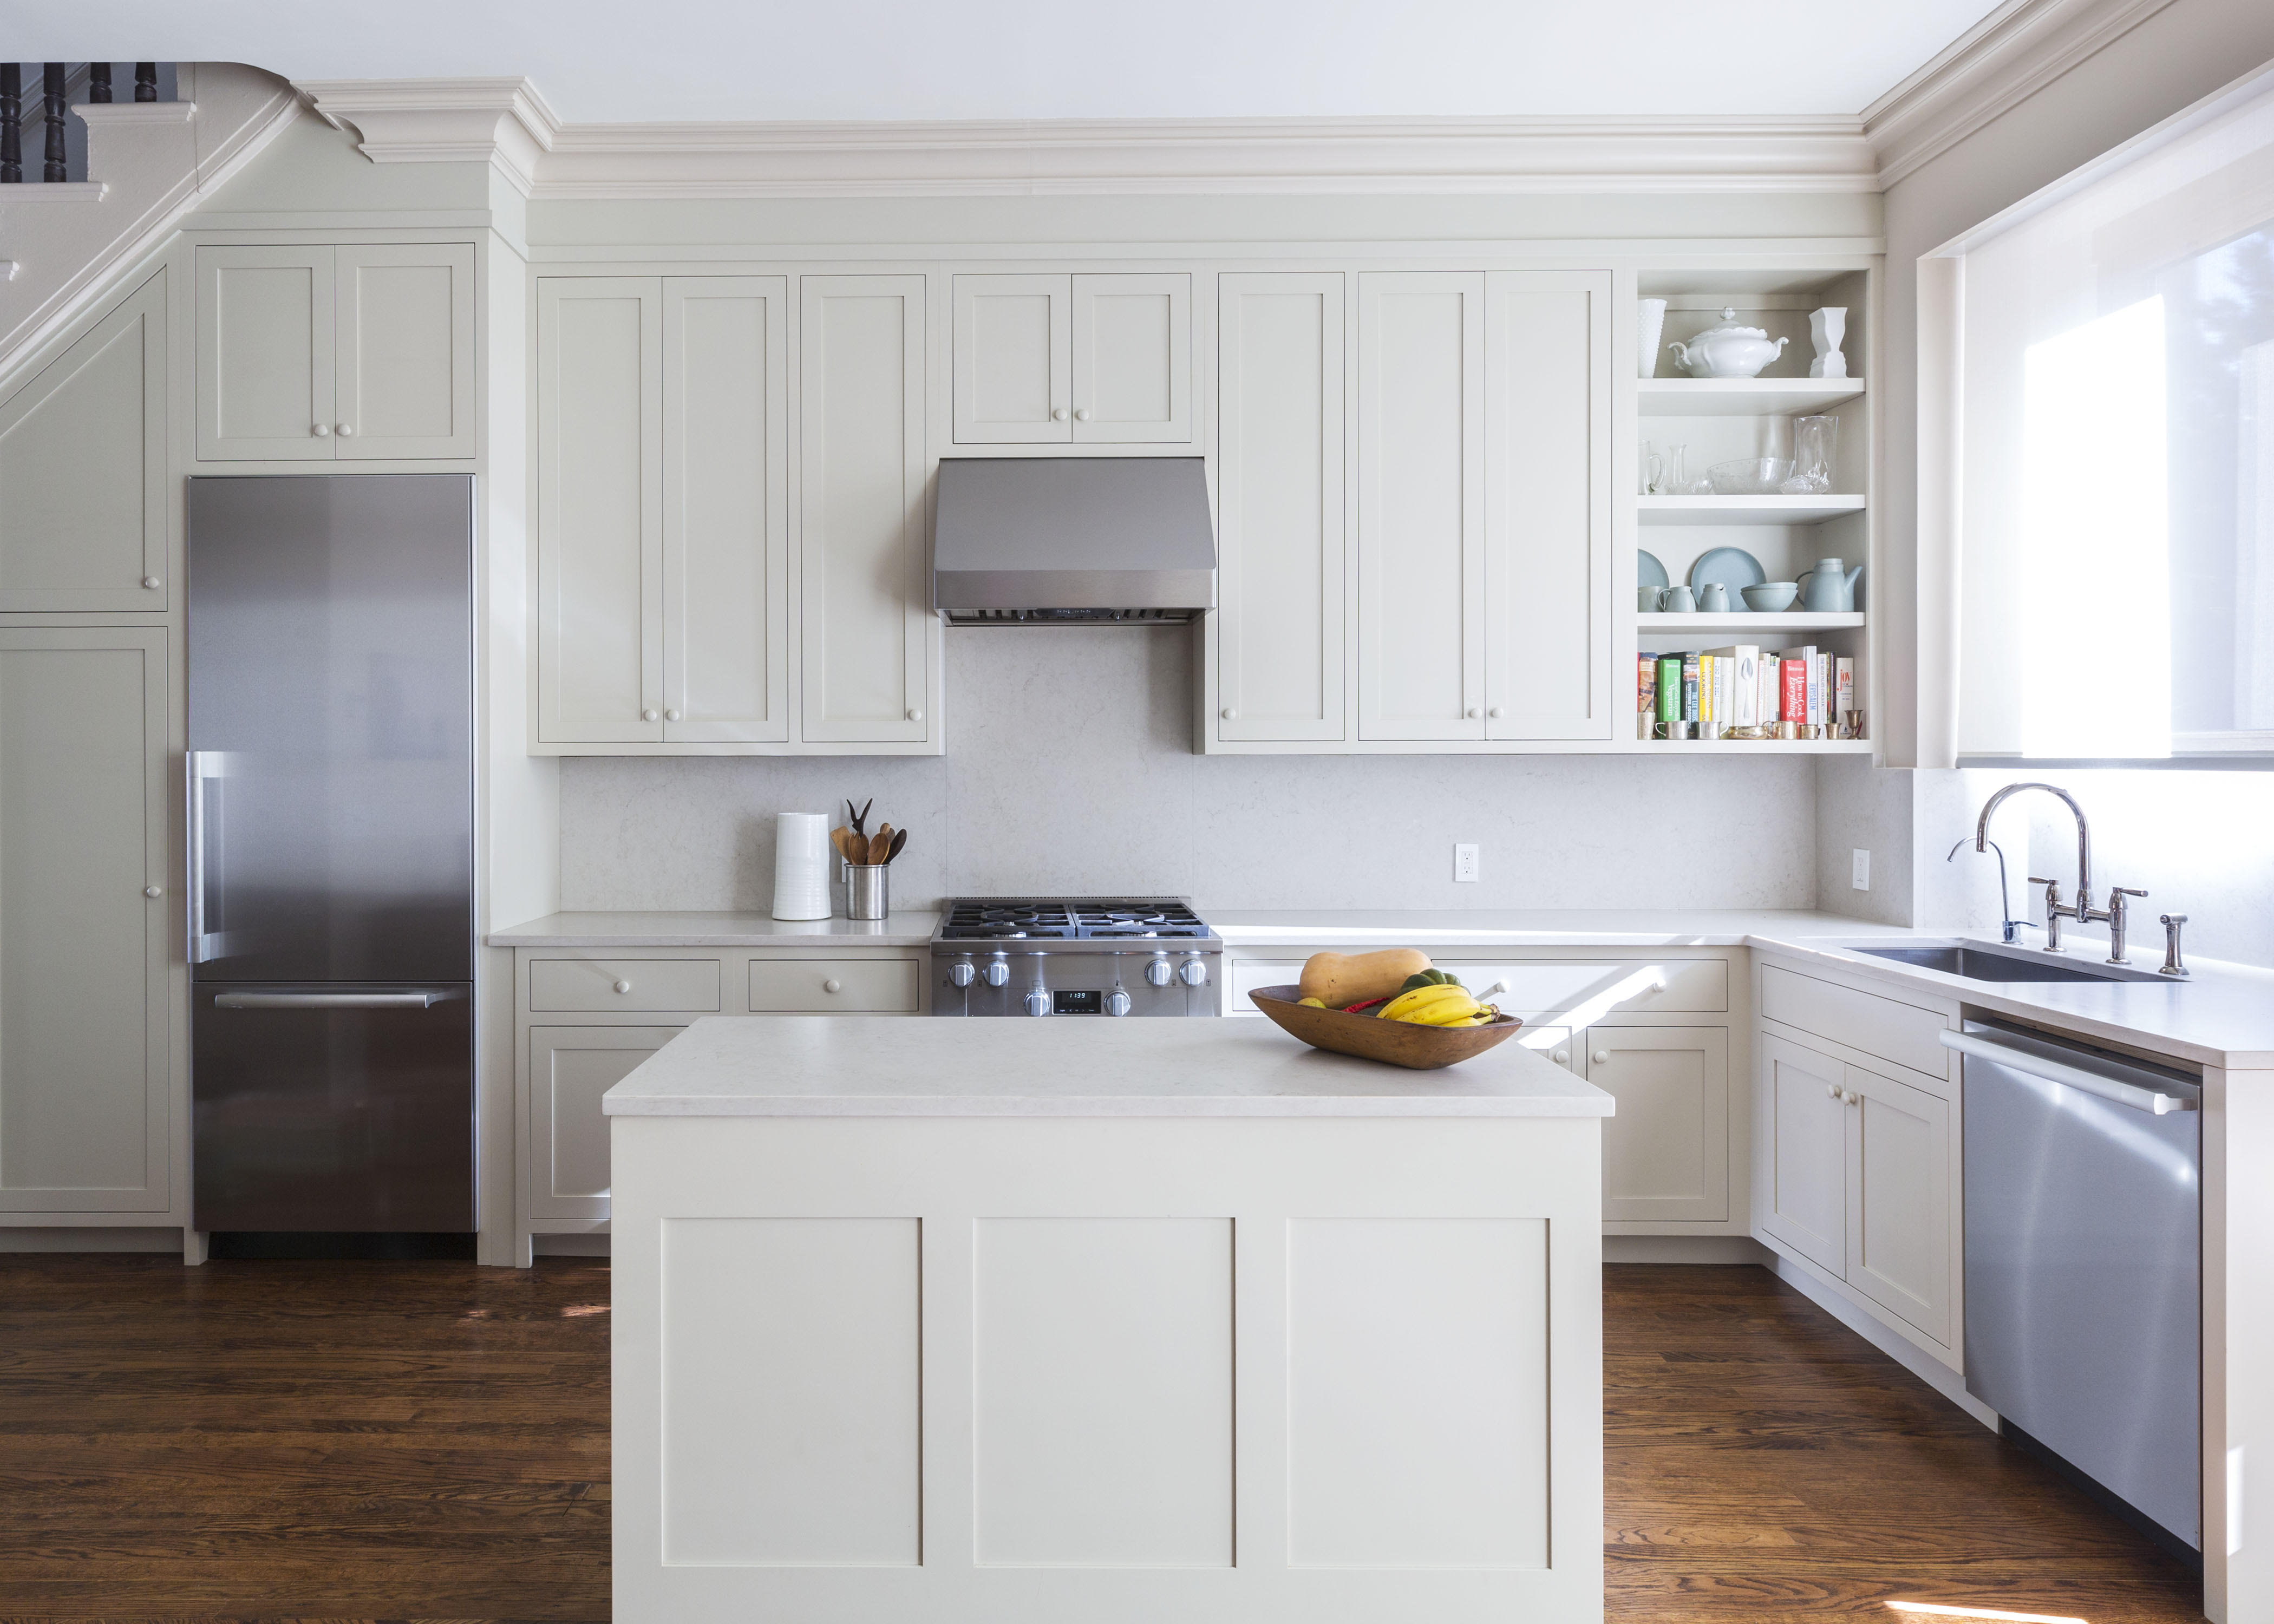
Natural light is always among the features that spark the most joy. Knowing this, we did everything possible to maximize the daylight (see photo at top). The kitchen is the most pleasant room in the house, thanks to the light pouring in from the south-facing glass wall by NanaWall; an automated Lutron shade cuts the heat and glare when the sun is blazing hot. Skylights over the main stairwell and kids’ bathroom drop light into other parts of the home.
Lesson 6: Custom cabinets are worth the splurge
We could have saved thousands on stock or semi-custom cabinets, but with all the awkward angles and odd dimensions in the home, they never would have fit cleanly. Amos Esh, our custom millworker, and his assistant spent an entire day just taking measurements. Six weeks later, the crew returned for the install. Thanks to the precision craftsmanship, the cabinets feel like they’re original to the house.
Lesson 7: Additional storage can be found in unexpected places
To squeeze every inch of storage space into the design, we also commissioned Esh to do built-in cabinets for under the main stairwell. The bank includes a kitchen pantry cabinet with pullout drawers, a coat closet, and two utility compartments for school supplies, cleaning products, and other household items.
Lesson 8: Classic materials are often cost-effective
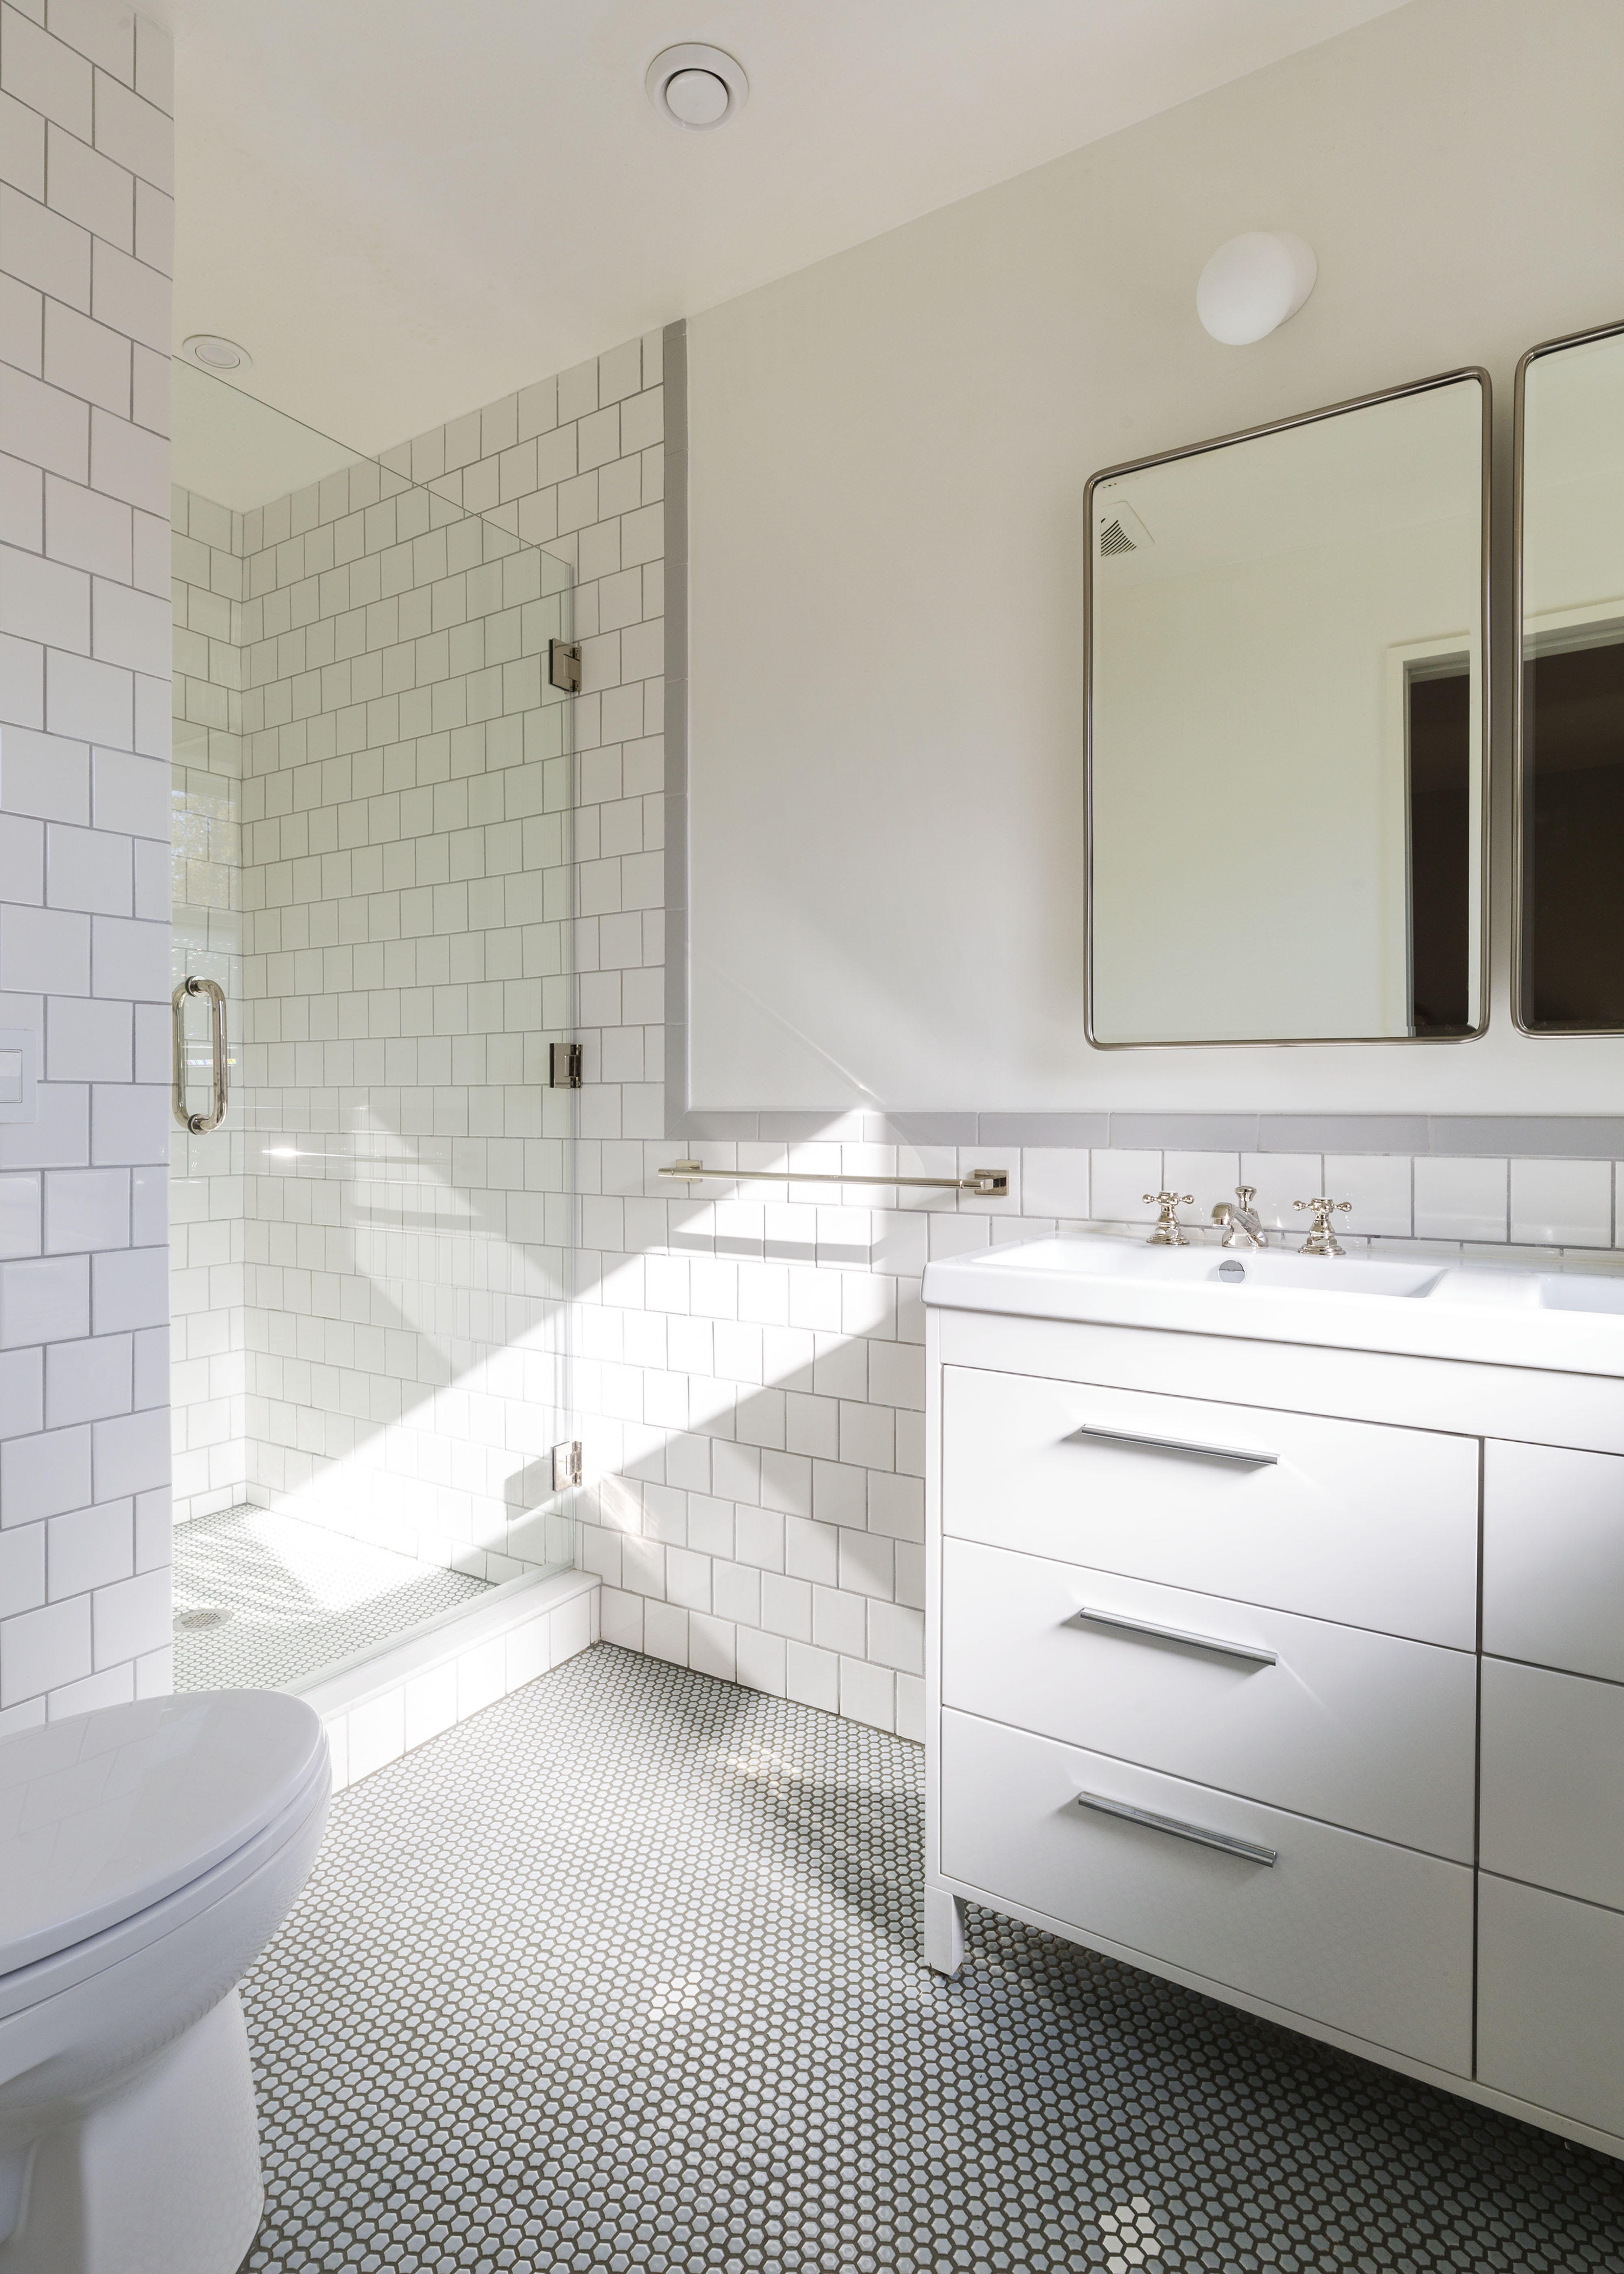
Sinking so much of the budget into the kitchen meant we had tighten our belt on the rest of the house. We didn’t want to compromise on style, though. Choosing simple, yet elegant tile work and fixtures in the bathrooms helped walk that line. For example, the 4-by-4-inch glossy tiles were a fraction of the cost of many designer options. We paid a bit more for the hexagonal floor tiles, but nothing exorbitant, even though the effect is quite luxurious.
Lesson 9: Remodeling takes a toll on relationships
My wife and I don’t have a lot of shouting matches. But I’ll never forget having to get up from chair to close the door to my office one afternoon because our phone conversation about the design for the back wall of the house was getting so heated. She wanted a full wall of glass with a galley kitchen. I favored an L-shaped kitchen.
We ended up using virtual reality software from a company called Cadsoft to render models of the two designs, plan A and plan B, which allowed us to experience the spaces via VR headsets. That helped us come up with the perfect compromise—an L-shaped kitchen with a light-maximizing window-and-door system.
In hindsight, I realize I’d gotten way too defensive when my ideas were challenged, probably because I’m the supposed expert. A renovation, like a relationship, is all about compromise and communication.
Lesson 10: New technologies make it easy to modernize old buildings
Central cooling was high on the list of must-haves (window AC units are an eyesore, inefficient, and I was tired of lugging them in and out each spring and fall). The challenge was where to run the ductwork. Our contractor suggested another solution: a split ductless system, which uses 3-inch tubing to circulate refrigerant between an outside condenser and indoor air handlers. The handlers are often wall-mounted, another eyesore, but because this was a gut renovation, we could recess them into the wall and cover the openings with decorative grills.
Smart home technology was another secret weapon. That includes a wifi-connected amplifier system that streams audio to in-ceiling speakers, meaning we have music in every room without a cord in sight. We also went with smart smoke and carbon monoxide alarms, which provide added peace of mind by sending alerts to our phones in the event of a fire or gas leak.
After all, with all the time and effort that we poured into the renovation, we wanted to do everything possible to protect our investment. With everything I learned renovating our dream home, it's not an adventure I'd wade into again on a lark.
You Might Also Like


